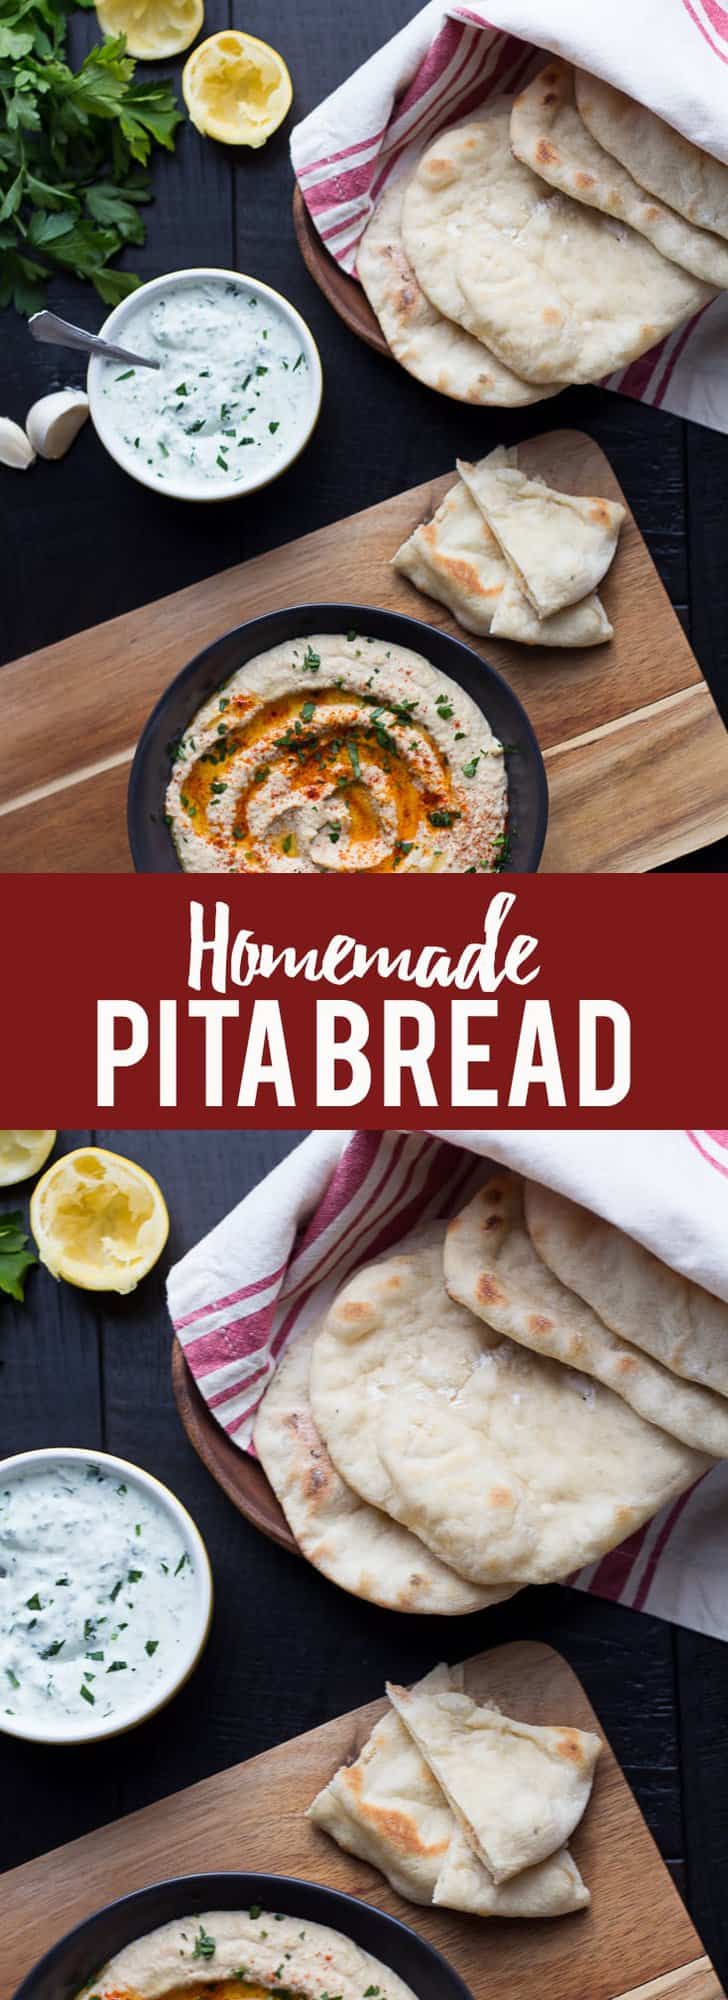
Pita Bread
This simple Homemade Pita Bread is easy to make and better than anything you can buy at the store! Learn to make pita bread at home.
Homemade Pita Bread
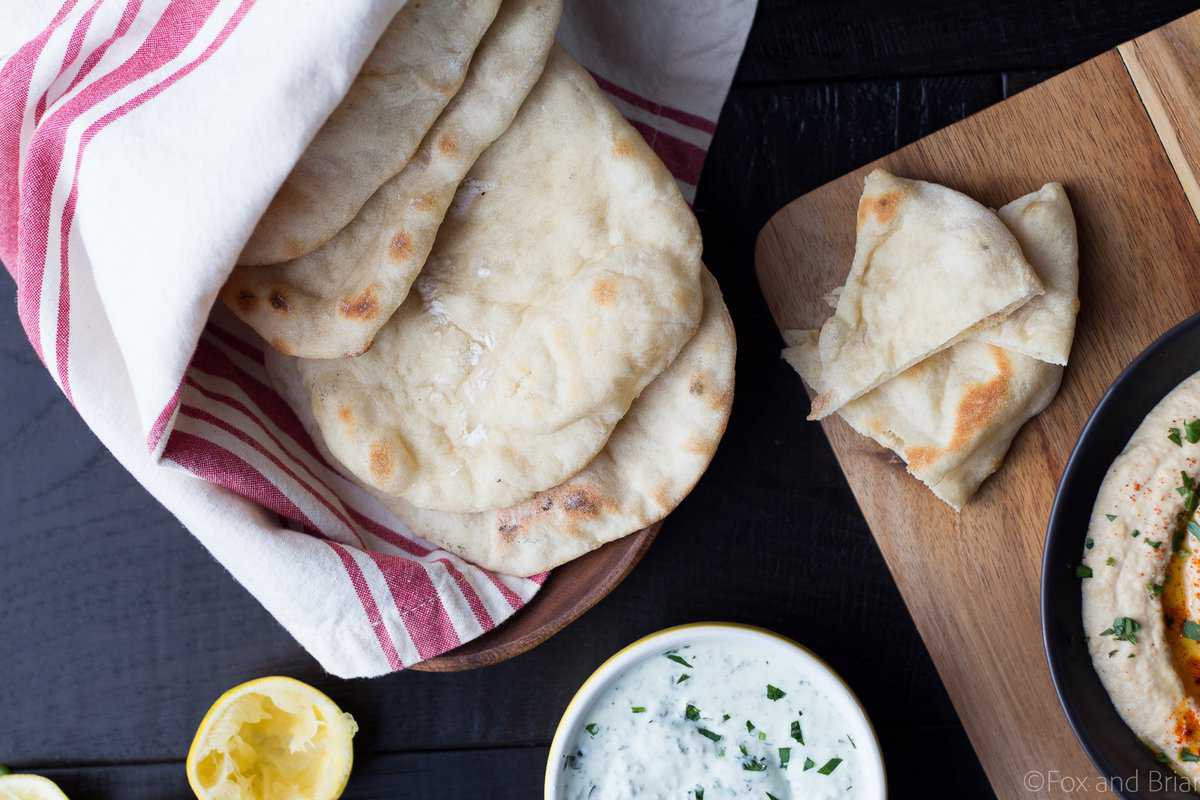
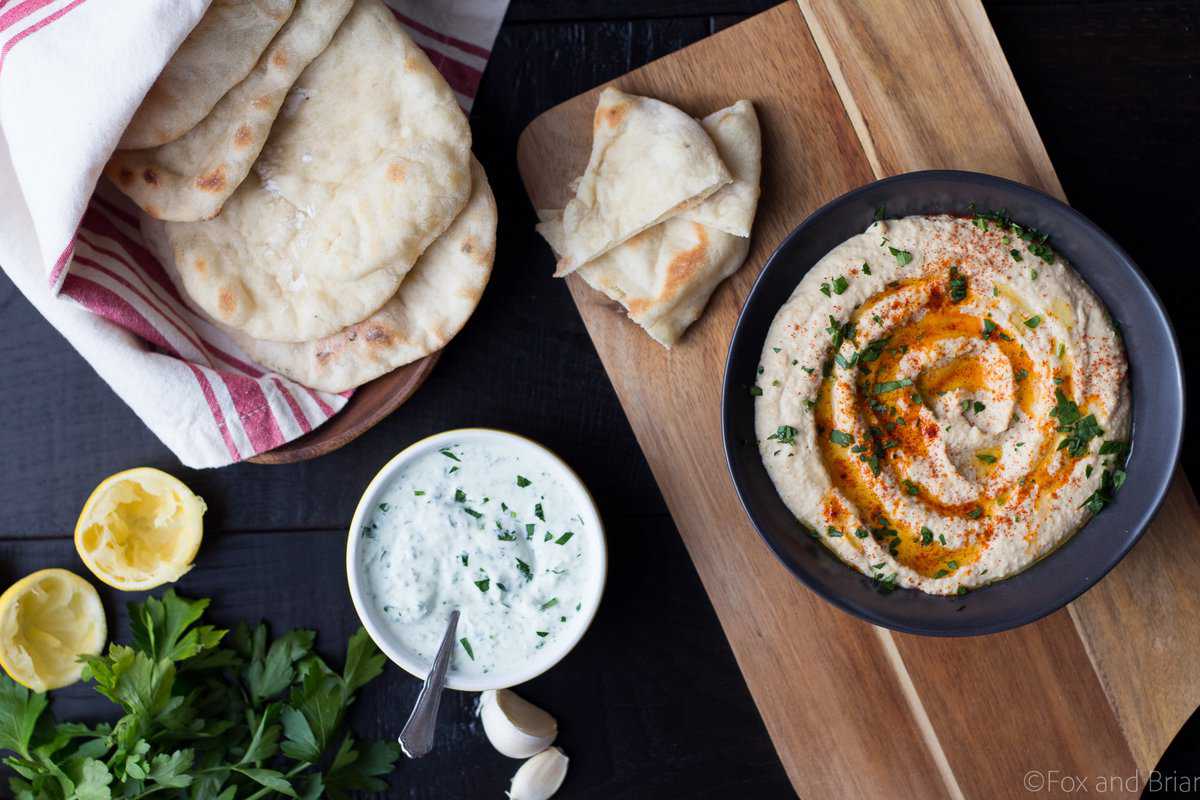
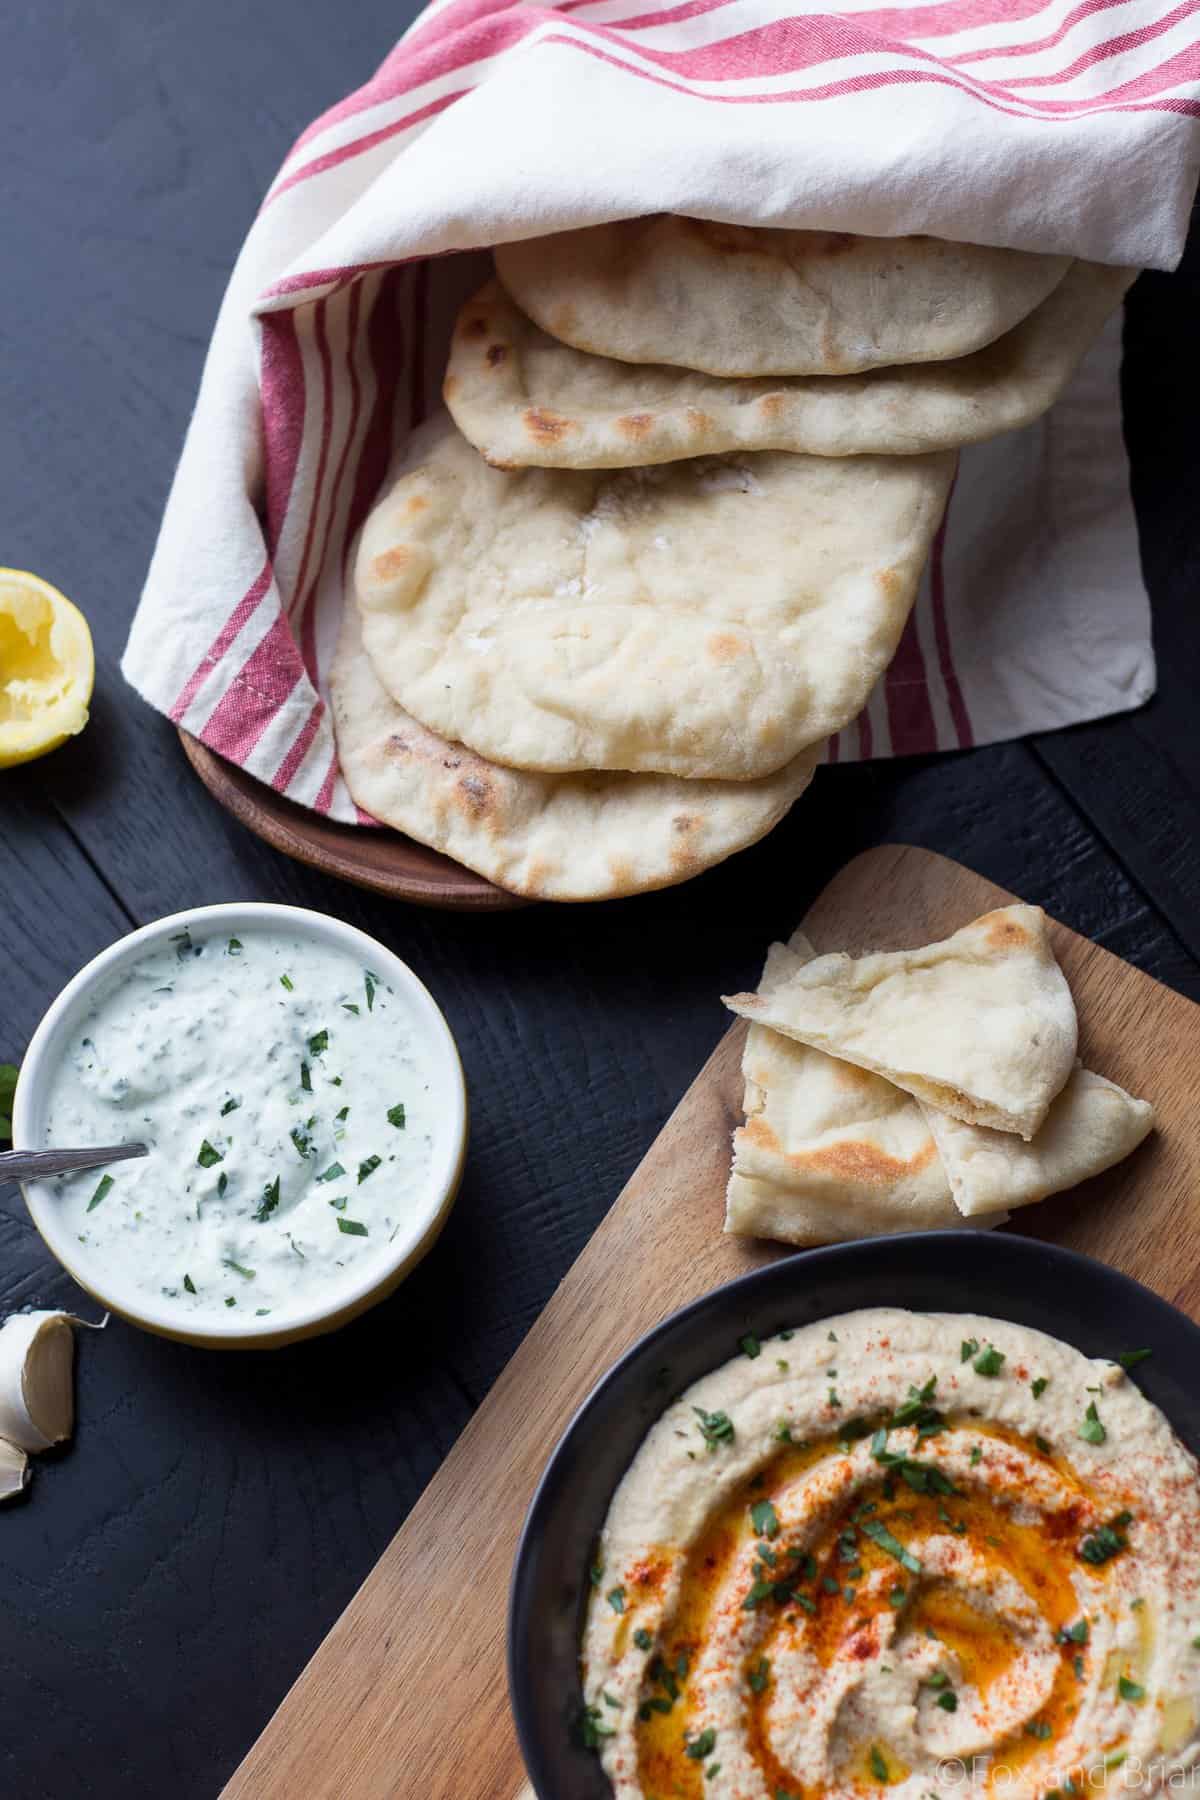
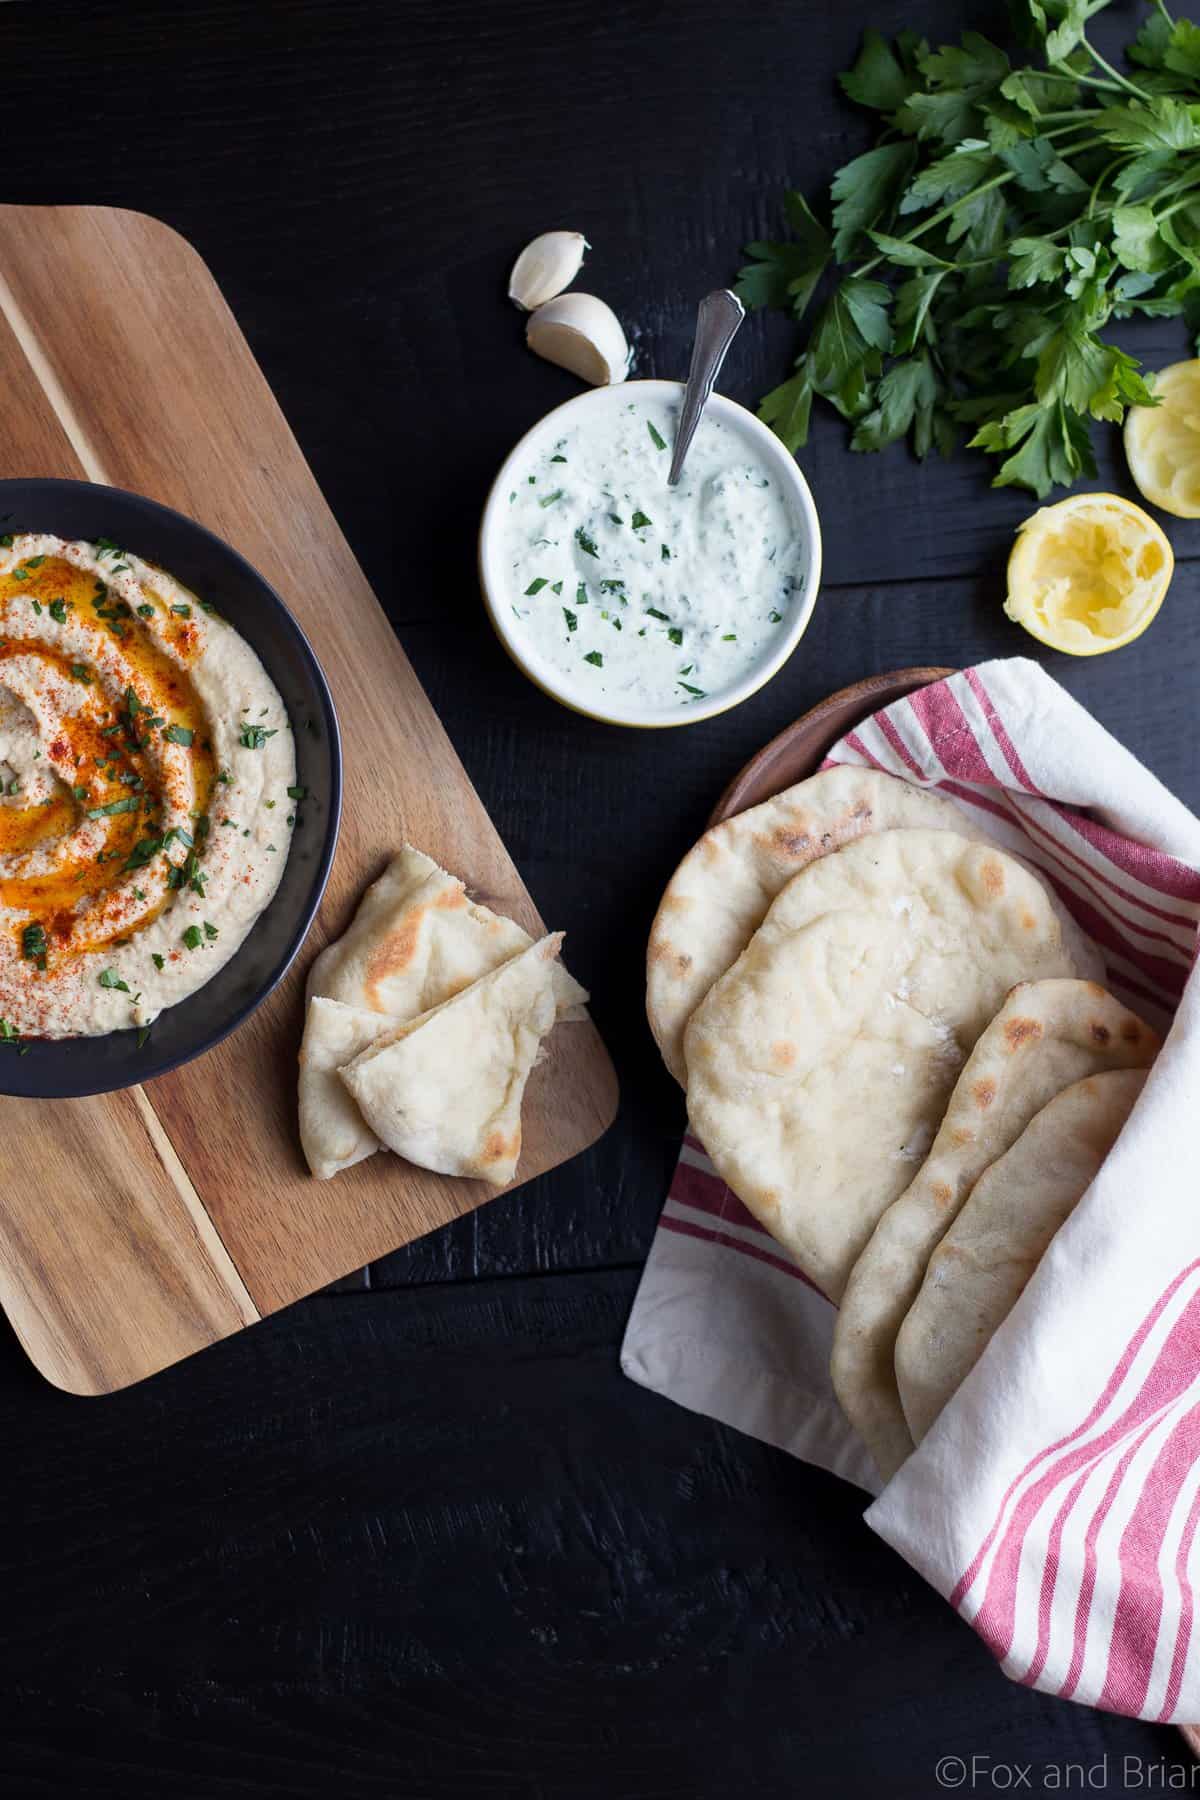
Pita bread is one of those things that seems super intimidating but actually is pretty easy to make. I tried out a few recipes and I think that this one is the best, mostly because it requires very little hands on time and it gives you soft, fluffy pitas that work as well dipping into humus as they do a sandwich wrap.
Best Pita Bread Recipe
It can be a little difficult to get the “pocket” feature, where the two side puff up leaving a hollow middle. I found that the best way to do that is to gently shape the dough into a disc, then carefully roll it out. The goal is not to press out all the air, but you want to roll it to about 1/4-1/8 inch thickness. Even if it doesn’t puff into a pocket, it still tastes amazing.
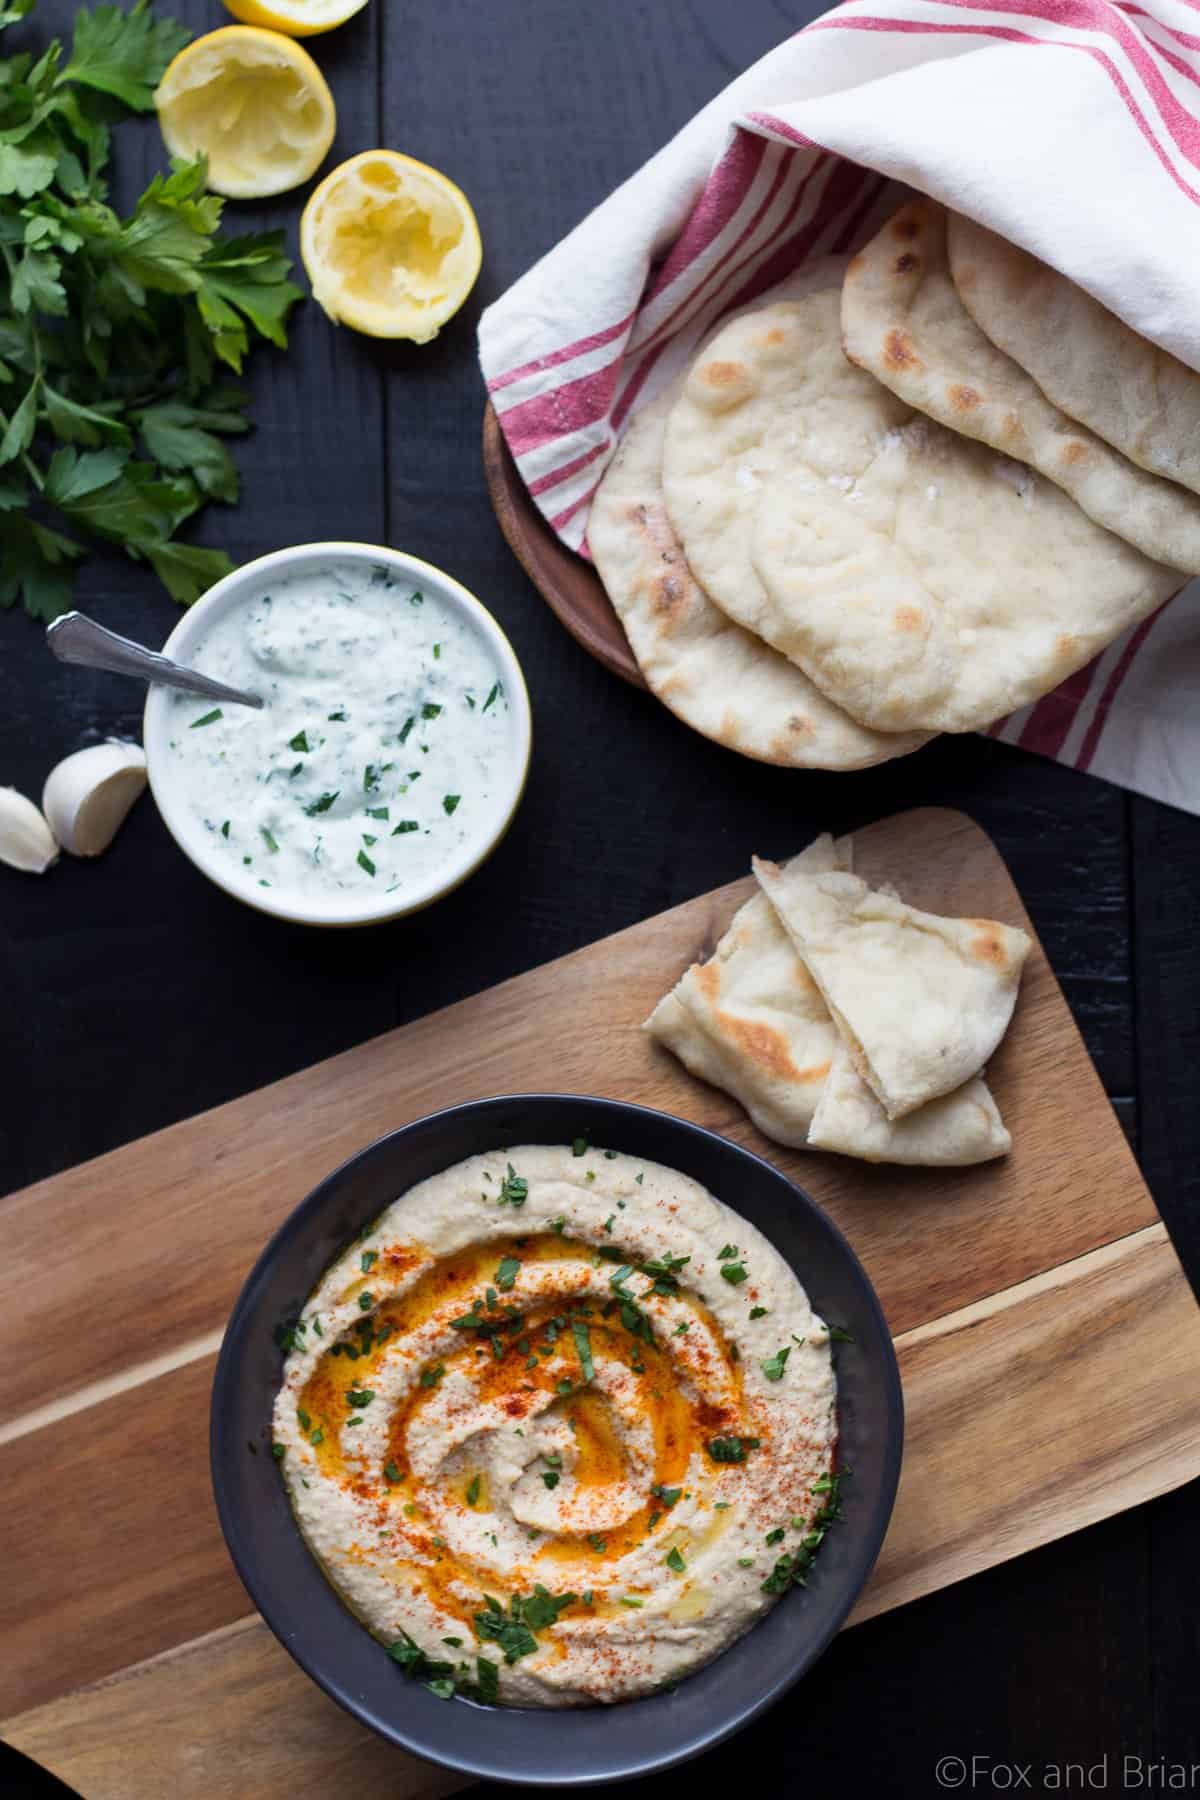
Homemade Pita Bread is easy to make and is better than store bought!
I used my pizza stone to bake these on and I really think that is ideal (I have THIS one – that is my affiliate link). I use my pizza stone mostly for pizza, but it works great for baking bread as well. I do think you will get better results with a pizza stone because it gets very hot. But if you don’t have a pizza stone, I would suggest using a cast iron skillet or you can just use a baking sheet.
A Very Hot Oven Makes the Best Pita Bread
You need a very hot oven for this, so I pumped mine up to 515 degrees F – since I was opening it every few minutes and letting out heat, I wanted to keep it as high as possible.
How to make a Pita Bread
I did bake my pita bread one at a time, which made this take a little longer – but since they only take a few minutes each to bake, it wasn’t that bad. If you use a baking sheet you could probably do a few at a time, which would cut hands on time. I really didn’t mind making one at a time though, because I could roll one out, start baking it, then start rolling the next one as the first was baking. Sort of like a pita bread assembly line, only run by one person. You want to keep these covered as they come out of the oven to keep them soft.
Does Pita Bread Reheat well?
Pitas are so great served warm, but if you want to make them ahead of time just keep them covered. They do reheat well. You can reheat them in the oven wrapped in foil to get that fresh out of the oven feeling.
And stay tuned, I will be bringing you a killer easy hummus recipe soon so you can start dipping these pitas ASAP!

Homemade Pita Bread
Pin
Rate
Ingredients
- 2 teaspoons active dry yeast 1 packet
- 3 cups All Purpose Flour
- 1 teaspoon kosher salt
- 1/2 teaspoon sugar
- 2 tablespoons olive oil
- 1 cup warm water not hot
Instructions
- Add water, yeast, and sugar to a large bowl, stir to combine.
- Add 1/2 cup of flour, whisk together. Allow to sit uncovered for 15 minutes.
- Add the olive oil and salt, and two cups of flour, stir with a wooden spoon until dough starts to come together.
- Sprinkle a little more flour on top, then use your hands to knead in the bowl for 1 minute until dough starts to form a ball.
- Turn dough onto a floured work surface, knead for two minutes. Cover for 10 minutes. Then knead again for 2 more minutes. Add flour as needed, but try not to use too much.
- Place in a clean mixing bowl, cover with plastic wrap and then a kitchen towel.
- Allow to sit for one hour or until dough has doubled.
- Place pizza stone or other baking surface** on the bottom rack of the oven. Heat oven to 515°F.
- Divide dough into eight pieces, rolling each into a ball. Cover and allow to sit for 10 minutes.
- Working with one dough ball at a time (leave the others covered), use your fingers to start to shape the ball into a disc, being careful not to press all the air out. Finish by using a rolling pin to roll disc into a flat 7-8 inch disc. Disc should be 1/4-1/8 inch thick. (be sure to flour the surface to avoid sticking.).
- When first disc is rolled out, flip it onto the hot pizza stone and bake for about 2 and a half minutes. Then flip it and bake for another 1 and a half minutes. Remove from oven and cover with a towel while other pitas bake.
- Continue the process for each pita until done. If you have a larger baking surface you may be able to bake several at a time.
- Keep baked pitas covered until ready to serve.
- To reheat, wrap pitas in foil (can wrap several in one package) and heat in oven until warm.
Notes
**If you do not have a pizza stone, use a cast iron skillet OR a baking sheet.
***To ensure a pocket, make sure your oven is very hot and don't roll your pita too thin!
Nutrition
Nutritional information is an estimate for your convenience. If you have strict nutritional needs, please do your due diligence to make sure this recipe fits your needs.
Adapted from New York Times Cooking
You May Also Like…
|
Disclosure: This post contains affiliate links, which means that if you purchase the items I recommend through the links I provide, I get a small commission. For more info, please see my disclosure policy. Thanks for supporting Fox and Briar!
