Glamping in Moran State Park plus 10 Gla...
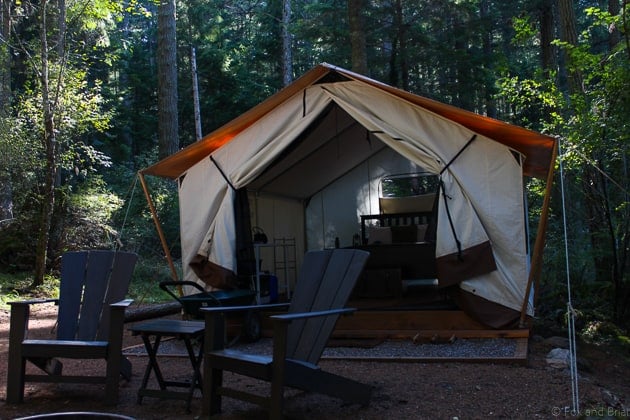
Hey guys! On Friday I told you that Mr. Briar and I were going on a little adventure, so today I am going to share a recap, plus some tips on glamping. This turned into a monster post, so I am going to split it into two days. My next post will be some campfire cooking recipes that we used on this trip (Update! Click HERE to see that post!). If you are wondering what “glamping” is, it is fancy or “glam” camping. I’ve been wanting to go glamping since I first found out it was a thing (on pinterest, of course).
Shortly after moving to Washington, I decided to look into some options, and I found out about Wanderlust Camps in Moran State Park on Orcas Island. Orcas Island is one of the San Juan Islands in the northwest part of Washington State (you can see actually see Canada from the island). I have been to Orcas Island a few times, but had never been camping there. When I booked the trip in June, the first available weekend was mid September – so this fills up very quickly!
Since I grew up in Alaska, I did quite a bit of camping as a kid. But after leaving the state as a teenager, I have only gone camping a handful of times, and usually with people who are much more familiar with camping. Because of this, I feel pretty much like a camping novice. Mr. Briar is quite the city boy himself, and had never been camping before. I decided that glamping would be a good way to ease us into the camping experience, and also save us from having to go out and buy a bunch of camping equipment.

Of course since this is an island, you can’t exactly drive there. Luckily, Washington State has a pretty great ferry system. And now you can reserve your space on the ferry online! Since we had a reserved spot, all we had to do was arrive 30-60 minutes early and there was no stress about missing a place on the ferry.
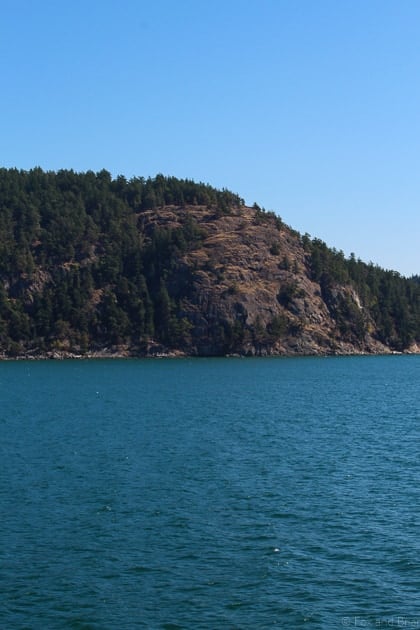
The ferry ride is short and pleasant, with lots of places to sit and deck space to enjoy the views and fresh air. Before we knew it, we had arrived on Orcas and were ready to get glamping! We were a bit early for check in, and also starving, so we grabbed a drink and some food at The Madrona Bar and Grill. The views were great! The food was pretty standard bar fare. If we could do it over, we would skip this and just head straight to our campsite, because when we arrived we were totally enamored with it.
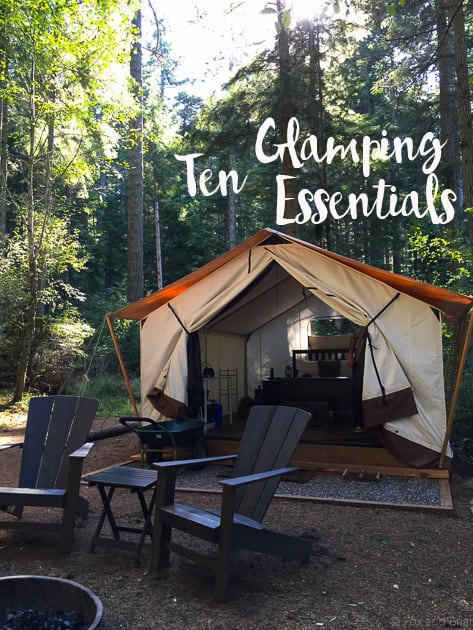
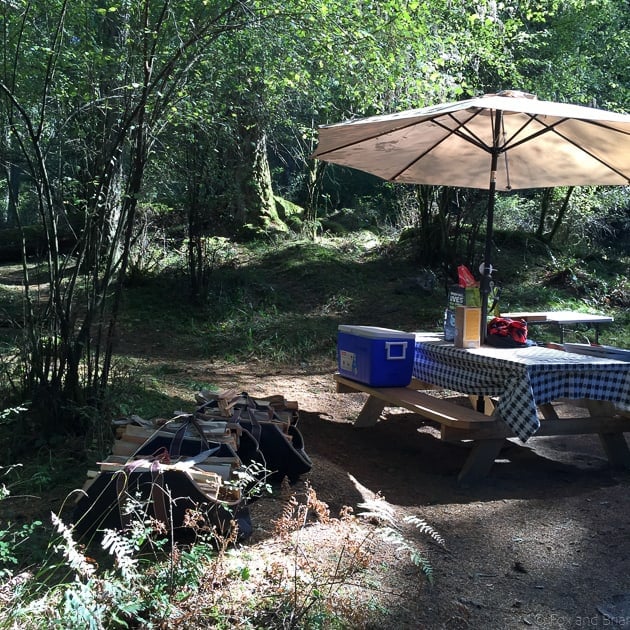 The staff greeted us at the car, and helped us lug our bags and cooler up to the site. Almost everything you could want was there (except food!) We had added on the firewood kits and the cooking kit so that we didn’t have to transport that stuff. The firewood kits had wood, kindling, marshmallow roasting sticks and a lighter, and the cooking kit had a cast iron skillet and dutch oven, silicone pot holders, a spatula and tongs, a sponge and dish soap.
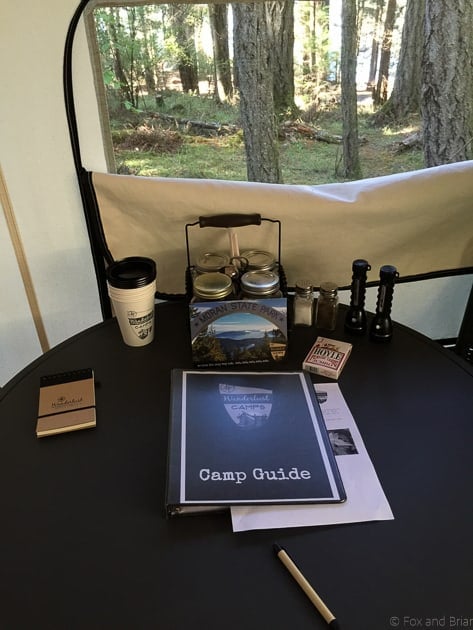
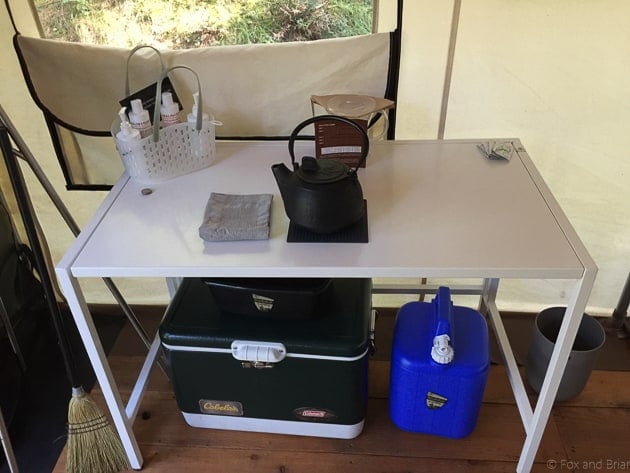
The tent was amazing! Aside from being super cute, it had a very, very comfortable bed with luxurious bedding. There was also a dresser, towels, a table and chairs, coffee, tea, a deck of cards, a corkscrew, toiletries,a kettle, coffee maker, cooler and water jug. And it had lanterns and some little tap lights.
A word of advice – Be sure that all of your food is either in a cooler or a hard container like a rubbermaid tote. I’ll tell you why later.
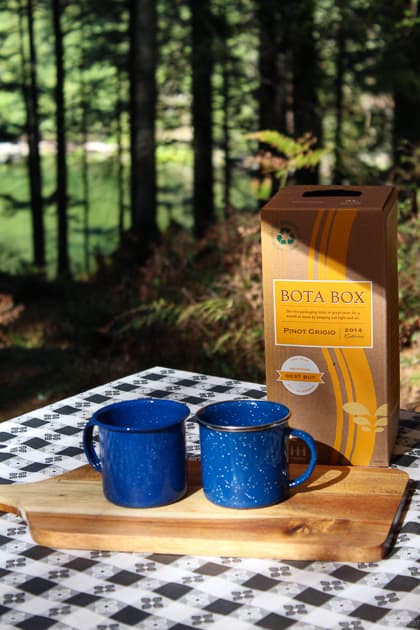
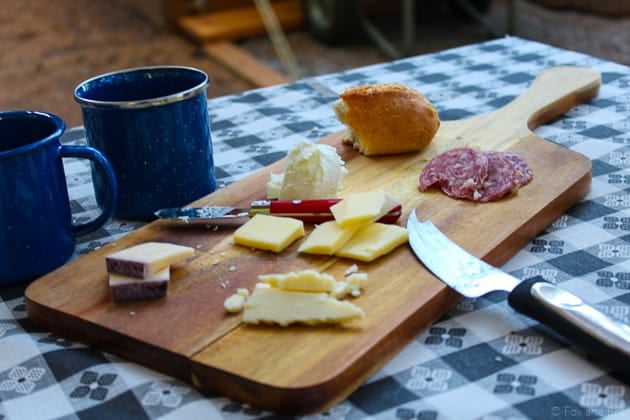
After getting settled in, we broke out our mobile happy hour. I brought some cheese and sopprasetta, my favorite little cheese board and of course, wine. We opted to bring boxed wine because it is really ideal for camping – lots of wine in a small, lightweight package. Less trash to deal with, and less weight to carry. It stays airtight and is easy to dispense with the tap. Bota Box is our boxed wine of choice, and since my favorite wine is Pinot Gris, I opted for the Pinot Grigio. Instead of bringing plastic or acrylic wine glasses, I just brought some cute enamelware mugs that could double as wine glasses AND coffee mugs. We enjoyed our wine and cheese sitting in the Adirondack chairs at the site, with a view of Cascade Lake.
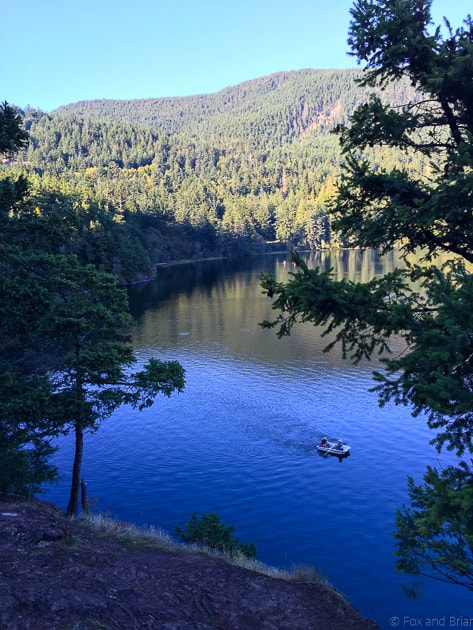
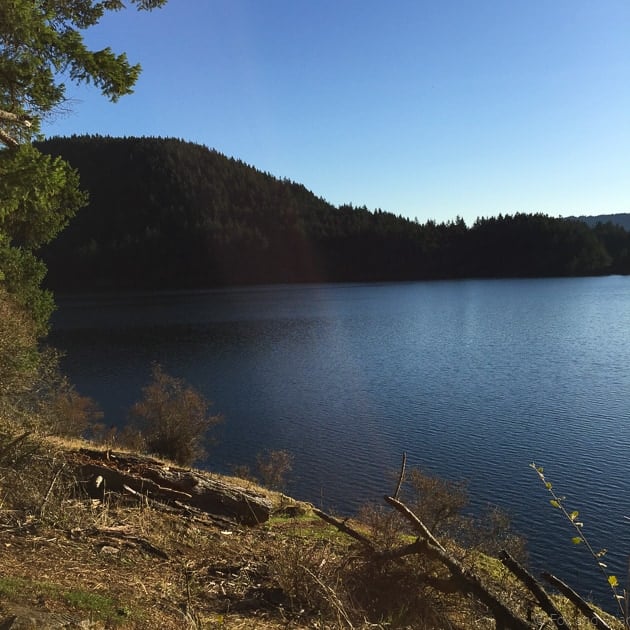
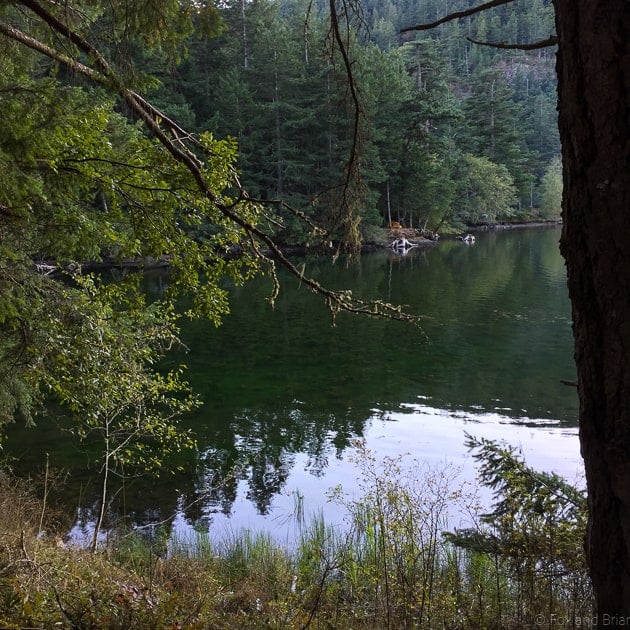
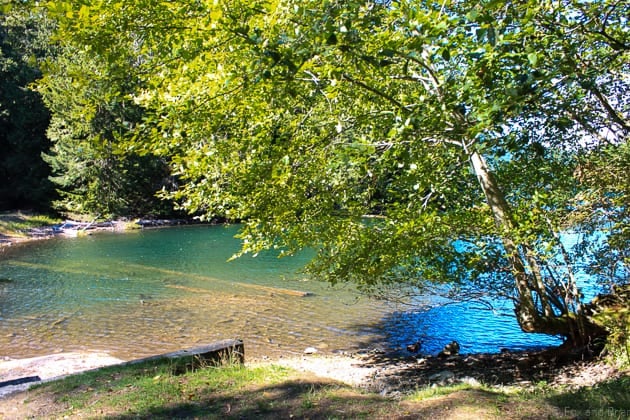
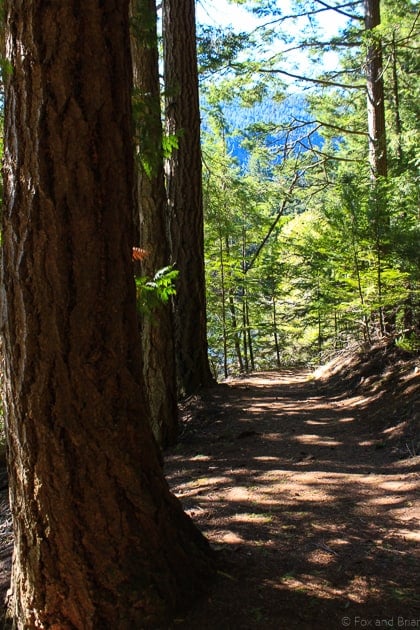
After our happy hour, we went on a nice and easy hike around Cascade Lake. The trail is easily accessed near the camp site, and is relatively short and easy. It is just under three miles and took us about an hour and a half. It was perfect for a late afternoon/early evening hike. The lake is absolutely beautiful. I’m pretty sure the air is just fresher there.
The weather was absolutely perfect. I was a little nervous booking our trip in September, as you never know how the weather will be in the fickle PNW. But we were granted ideal weather, clear skies, sun and a cool breeze. It did start to get windy the first evening, and as we slept in our SUPER COMFORTABLE BED the wind picked up. A few times during the night I was sure I heard wildlife creeping around our tent. I knew there were no bears on the island, but there are plenty of deer. And I know that deer are NOT SCARY…but still, creatures creeping around your tent in the middle of the night can be a little unsettling. So despite the warm covers and cushy bed, I didn’t get the best nights sleep.
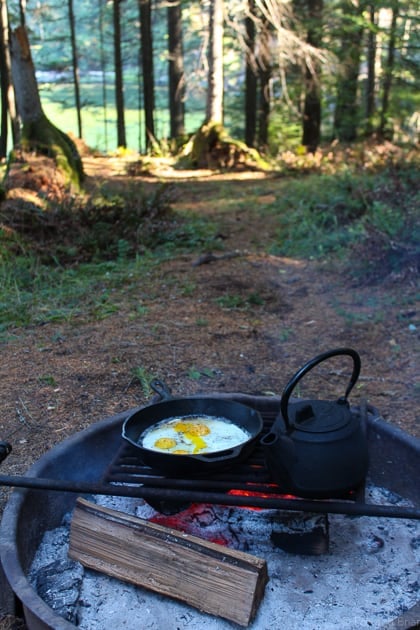
We woke the next morning with sun streaming into the tent, and got to making a campfire breakfast and coffee (more on that next time). After cleaning up, we headed to our car and drove up to Mount Constitution, the highest point on the San Juan Islands. I originally had considered hiking this, but was advised by a family member who lives on the island that it is really not the most pleasant hike. We are still fairly beginner hikers, so decided to skip the hike this time. But the drive is worth it. The view is spectacular.

Since we still wanted to do some sort of hike, we drove back down the mountain to Mountain Lake. This is another pleasant and fairly easy hike. A bit longer than the Cascade Lake hike, it also took us about an hour and a half. After the hike, we returned to our glamp site for another happy hour, a short walk, and then dinner. Notice a theme? Hiking, eating, hiking eating. It’s the camping way.
Now comes the part of the story where I tell you to learn from my mistake. Remember when I said to always ALWAYS keep your food in a hard container? This is why. Since I grew up camping in Alaska, I was always taught to keep food away from the campsite (usually in our car) to avoid attracting bears. And since there are no bears on Orcas Island, I thought the only wildlife I needed to worry about were the deer, and maybe raccoons. Well, deer won’t come into your tent (right??). So, although we kept our cold food in a cooler, our pantry items were in reusable grocery bags. We diligently cleaned up our dinner and put our food IN OUR TENT to keep it safe. So we thought.
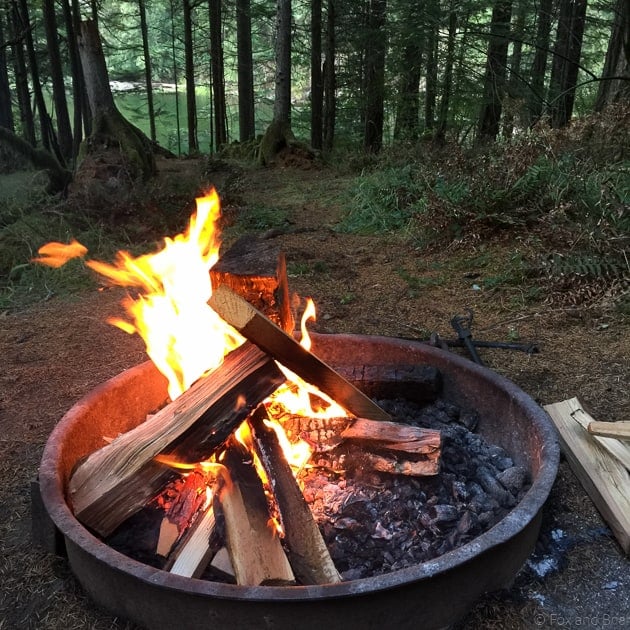
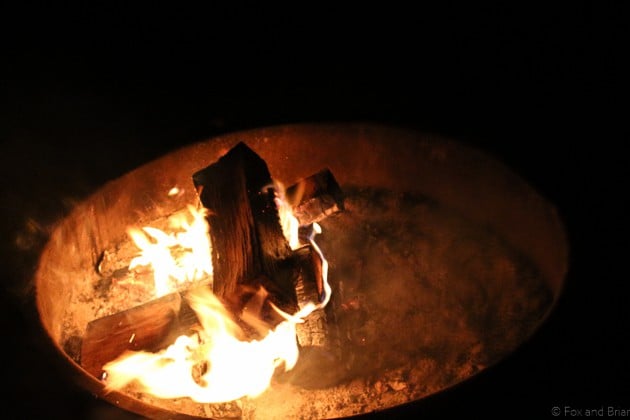
Mr. Briar and I were sitting by the fire when I heard a weird noise coming from the tent. I turned to look and saw A MOUSE inside the tent, hanging out by the food. Crap! We jumped up, and the mouse escaped through a hole in the wood floor. We plugged up the hole with paper towels, threw all the food into the cooler, and figured we had solved the problem. Nope.
At about 1am, I woke to a skittering noise INSIDE the tent. Gah! I turned on my headlamp to see a mouse scurrying down the wall of the tent. Guuuuuuuh. They can climb walls. And they knew we had food. And they wanted it. Needless to say, it was another sleepless night, punctuated by skittering sounds, me turning on the light and shrieking, and Mr. Briar saying “No more camping”.
So, please, Learn from my mistake, and remember that you are in the woods, and there are lots of hungry creatures that would love to get their creepy little hands on your food. Pack it in a sealed container.
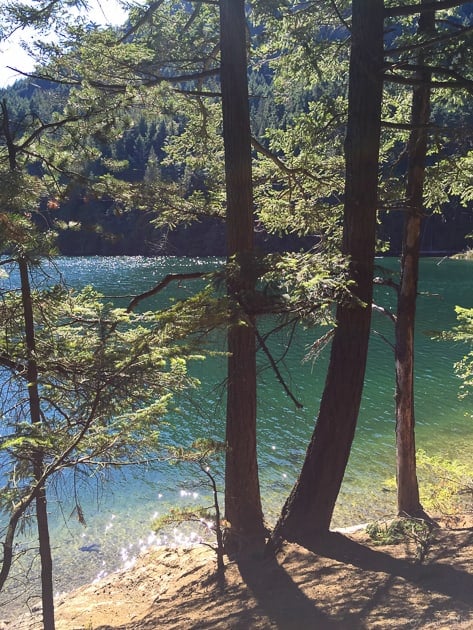
Aside from our brush with the local wildlife, we really loved our glamping experience and I would totally recommend it to anyone who wants to get their feet wet with camping, or maybe just have an easier, more comfortable and more convenient camping experience.
Based on our experience, I have compiled a list of “glamping essentials”. These are either things I did bring or I WISH I would have brought. If you are going glamping, be sure to check on what is included in your experience. Although I tended to err on the side of caution because I would rather bring something I didn’t need than wish I had brought it.
Disclaimer: This section contains affiliate links, which means that if you buy any of the items I recommend through my link, I will get a small commission. All of my opinions are my own, and all of the items are things that I actually own and use unless otherwise noted. Thanks for supporting Fox and Briar!
Top 10 Glamping Essentials
Since most things were provided at our Glampsite, these are a few extra things that topped off our experience.
- French Press – it wouldn’t be luxurious without good coffee. We use a french press often at home, and it turned out to be the ideal way to make good coffee while camping. We used THIS one. It is perfect for camping because it is unbreakable.
- Coffee Grinder – This is another item that we also use at home. We may be coffee snobs, but we think that fresh ground is best! It really isn’t difficult to grind your own beans, and it makes your coffee so much better. We use this almost every day at home, so it was a no brainer to bring. We use THIS one at home, but it does have a fairly small capacity. I noticed on Amazon that the same brand makes a larger one with great reviews, so if a larger one is better for you, you can find it HERE. Although I have only used the smaller one.
- Kettle – Our site provided a kettle, but it was cast iron and that gave the water a pretty unpleasant iron taste. I wished that I had brought a different kettle. I have not used one, but THIS one has great reviews, is inexpensive, and great for using on the fire. If I bought one, this would be it.
- Cooler – Our site provided a cooler, but since we were driving several hours to get there, it made more sense for us to bring one. Since we didn’t own one, and we didn’t know how often it would be used, we opted to buy THIS inexpensive one. It worked well, and kept our food cool for the three days that we used it. Although on the third day the ice was melting quite a bit. Of course, if I had all the money in the world, I would buy THIS one. That is one glam cooler. Another option that is in the middle is THIS one. It is cute and kind of retro, but much less money than the expensive one. Also it is the same cooler that was provided at the glamp site. All of these coolers have excellent reviews, but I have only used the first one.
- Portable Speaker – It isn’t glamping without music! Remember that you may not get cell service at the glampsite (we didn’t), so be sure to have some playlists downloaded prior to going. We used THIS portable speaker, which works remarkably well for its size. Also it comes in gold – totally glam!
- Enamelware Mug – Alright, so it doesn’t HAVE to be enamelware, but it does lend itself to that iconic “outdoorsy” feeling. It is lightweight, unbreakable and easy to clean. You can use it for your morning coffee and your evening wine. And also you can take hipster instagrams like this:
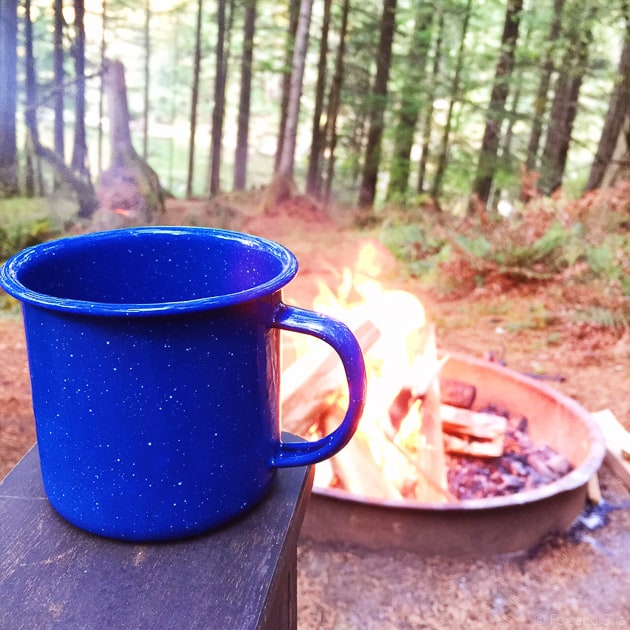 Also, there are some artisinal enamelware mugs out there for like 10 times the price of these, but these guys are the OG of enamelware, so who’s authentic now?
 - Headlamps – Our site provided lanterns, but nothing works like a headlamp. For cooking in the dark and walking to the bathroom in the middle of the night, they free up your hands and provide excellent light. Plus, you will look super hot wearing one.
- Cheese Board – OK, before you laugh, remember these are GLAMPING essentials. And yes, a cheese board is a glamping essential. The one I have I bought at Target on clearance a few years ago, and I use it ALL the time, as evidenced by pretty much all of the photos on this blog. Since it is no longer available, HERE is one that looks similar to mine (nicer actually. Now I’m jealous). Also, check out THIS cute one that comes in state shapes! Since you are enjoying the great outdoors of your state, eating your cheese off of a cutting board shaped like your state seems appropriate. Don’t forget to bring something to cut and spread your cheese with!
- Cast Iron Skillet – Our site provided this in the cooking kit we added on. But if yours does not provide a skillet, I would highly recommend bringing one. It was perfect for cooking over the fire, and works for countless recipes and meals. Even if you only bring one pan, this should be it. Also, the one provided at the site was on the small side, and I would have preferred a slightly larger one. So I would recommend the 12-inch, which is the one we use at home.
- Hand Sanitizer/Wet Wipes – If you are a big fan of hand washing like me, being away from running water might be a little difficult. Having some hand sanitzer around made me feel more at ease after handling raw chicken and cleaning up after the mouse fiasco. Also, the wet wipes are another nice alternative to hand washing, and just in general for cleanup.
So those are the things that will take your glamping experience from nice to super nice. Of course, food wasn’t on this list, but I will be doing a full post soon on camping meal plans and recipes. Be sure to sign up for our email list so that you don’t miss a post!
Have you ever been glamping? Or do you prefer to rough it? Or maybe just forego the outdoors altogether? Comment below to let me know!